Seamless stainless steel cups, known for their durability, hygiene, and sleek appearance, are created through a sophisticated manufacturing process. The absence of seams eliminates potential leak points and makes them easier to clean. Here’s a step-by-step breakdown of how they are made.
1. Material Selection & Blanking
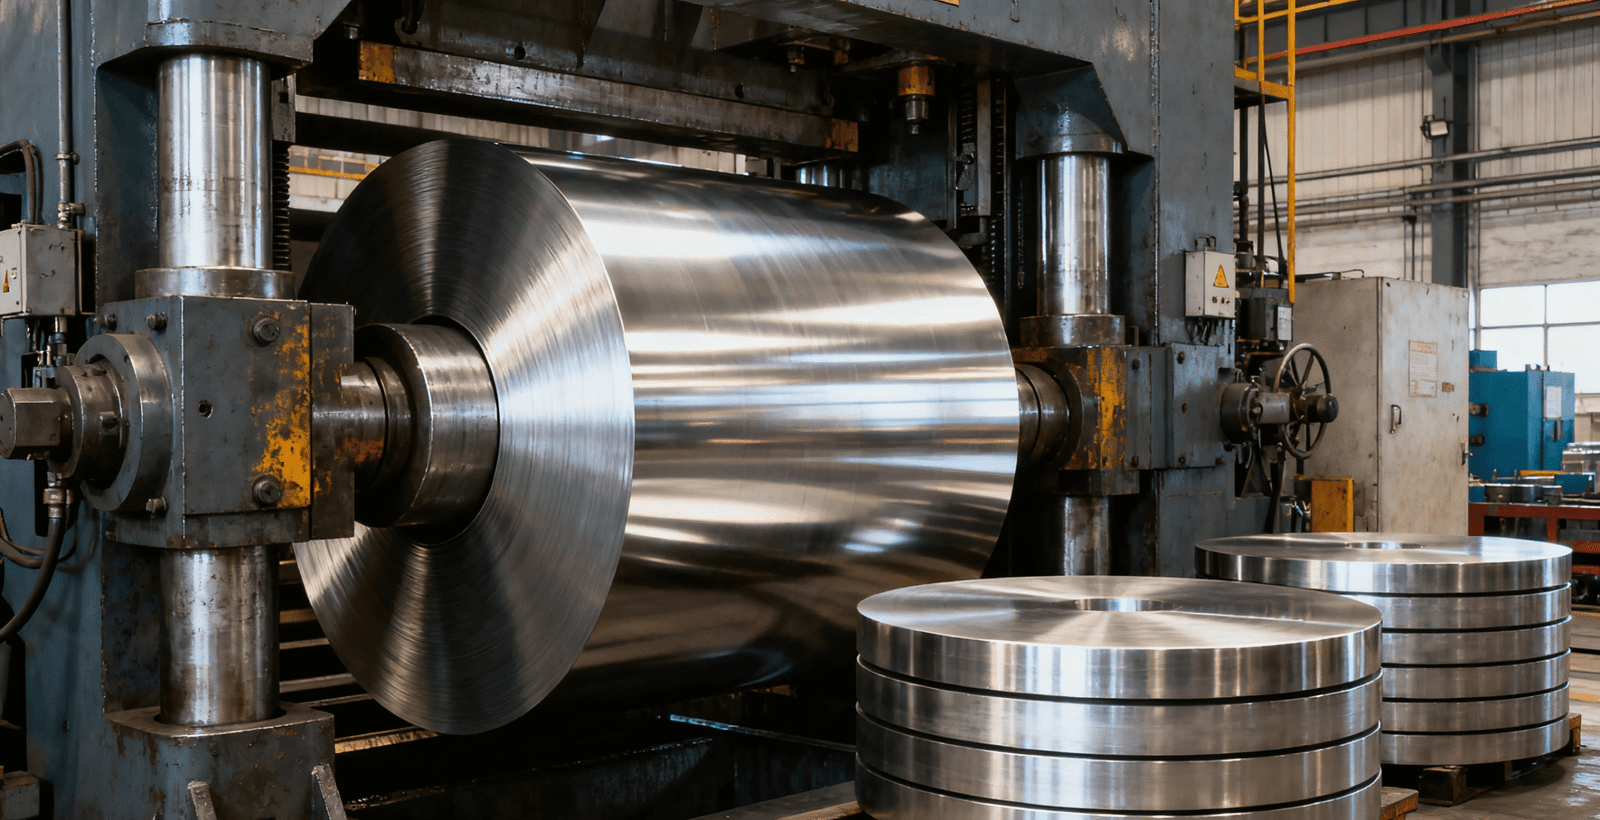
Process: The process begins with a large coil of high-quality stainless steel, typically Type 304 (18/8), which contains 18% chromium and 8% nickel for excellent corrosion resistance and formability. This coil is fed into a blanking press, which stamps out flat, disk-shaped blanks. These blanks are the raw material that will be transformed into a cup.
")
2. Deep Drawing (1st Stage)
Process: The flat blank is placed into a deep drawing press. A powerful hydraulic ram forces the blank into a die cavity, stretching and forming it into a shallow cup shape. This first “draw” is crucial as it begins the transformation from a 2D disk into a 3D cylindrical form. This step often requires multiple draws with progressively deeper dies to achieve the desired height without tearing the metal.
3. Ironing (Wall Thinning & Heightening)
Process: The drawn cup now has walls that are thicker at the base than at the top. To create a uniform wall thickness and achieve the final height, the cup undergoes “ironing.” The cup is pushed through a series of tungsten carbide dies with progressively smaller internal diameters. This process thins the sidewalls and elongates the cup to its precise final dimensions, giving it that characteristic sturdy feel.
4. Trimming & Curling
Process: After ironing, the top edge of the cup is uneven and sharp. The cup is moved to a trimming machine where a spinning blade precisely cuts the rim to a uniform height. Immediately after, the raw edge is rolled outward and downward in a process called “curling” or “beading.” This creates a smooth, rounded, and safe lip for drinking, which also adds structural rigidity to the cup.
5. Cleaning & Degreasing
Process: The cup now has machining oils and drawing compounds on its surface. It goes through an industrial washing process involving alkaline solutions and high-pressure water jets to remove all contaminants. This is a critical step to ensure proper adhesion for any subsequent polishing or finishing.
6. Polishing & Finishing
Process: The cup receives its final surface finish. For a mirror polish, it is buffed with progressively finer abrasive wheels and compounds. For a brushed (satin) finish, abrasive belts are used to create uniform, linear grains. This step is often performed by automated robotic arms for consistency.
7. Bottom Stamping & Assembly
Process: The cup is now placed upside down. A press stamps the bottom to create a recessed base. This improves stability and prevents scratches on surfaces. For double-wall insulated cups, an additional step is required: the inner and outer walls are assembled, and the rim is laser welded shut in a vacuum environment to create the insulating vacuum layer.
8. Quality Control & Packaging
Process: Every cup is rigorously inspected for defects like scratches, dents, or imperfections in the finish. It may be checked for dimensional accuracy. Finally, the cups are cleaned again, packaged in protective sleeves or boxes, and are ready for shipment.
Summary Diagram
[A final composite image showing the entire process in a single flow chart:]
- Flat Blank -> 2. First Draw -> 3. Ironed Cup -> 4. Trimmed & Curled Rim -> 5. Polished Finish -> 6. Finished Cup
This intricate process of transformation and precision engineering is what results in the strong, beautiful, and reliable seamless stainless steel cup we use every day.